UltraGauge MX - M Gauge Programming Guide

M Gauge Programming Guide
Step 1
Plug the UltraGauge MX into the vehicle’s ODB2 port, allow the gauge to startup and await main display of programmed or default gauges to appear:

Step 2
Press the menu/enter button on the rear of the UltraGauge unit and head to the Gauge/Page Menu:
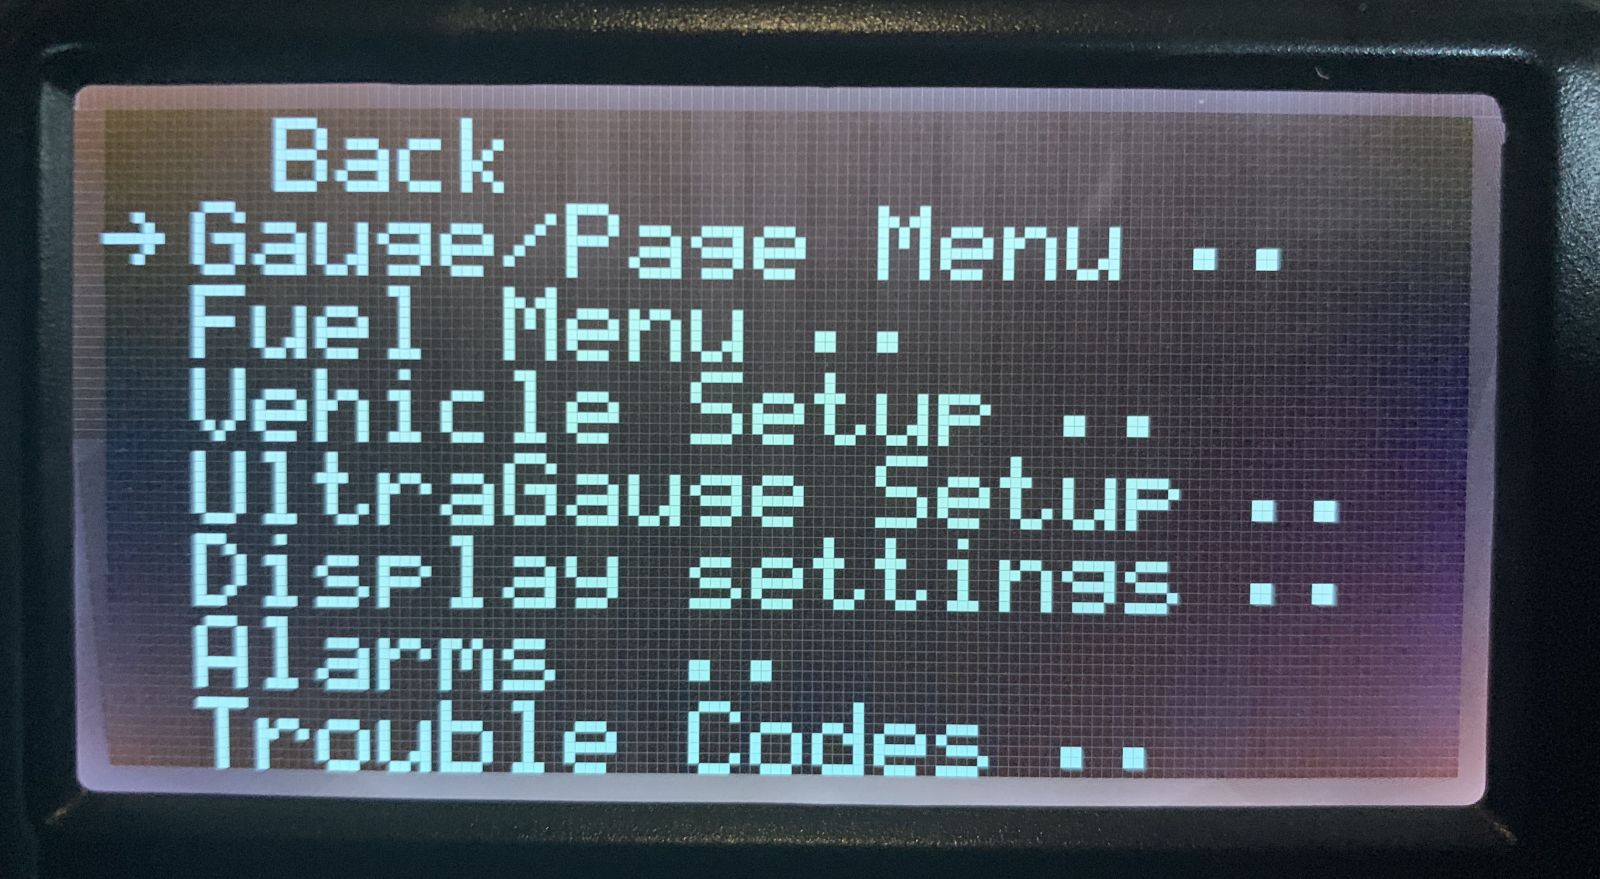
Step 3
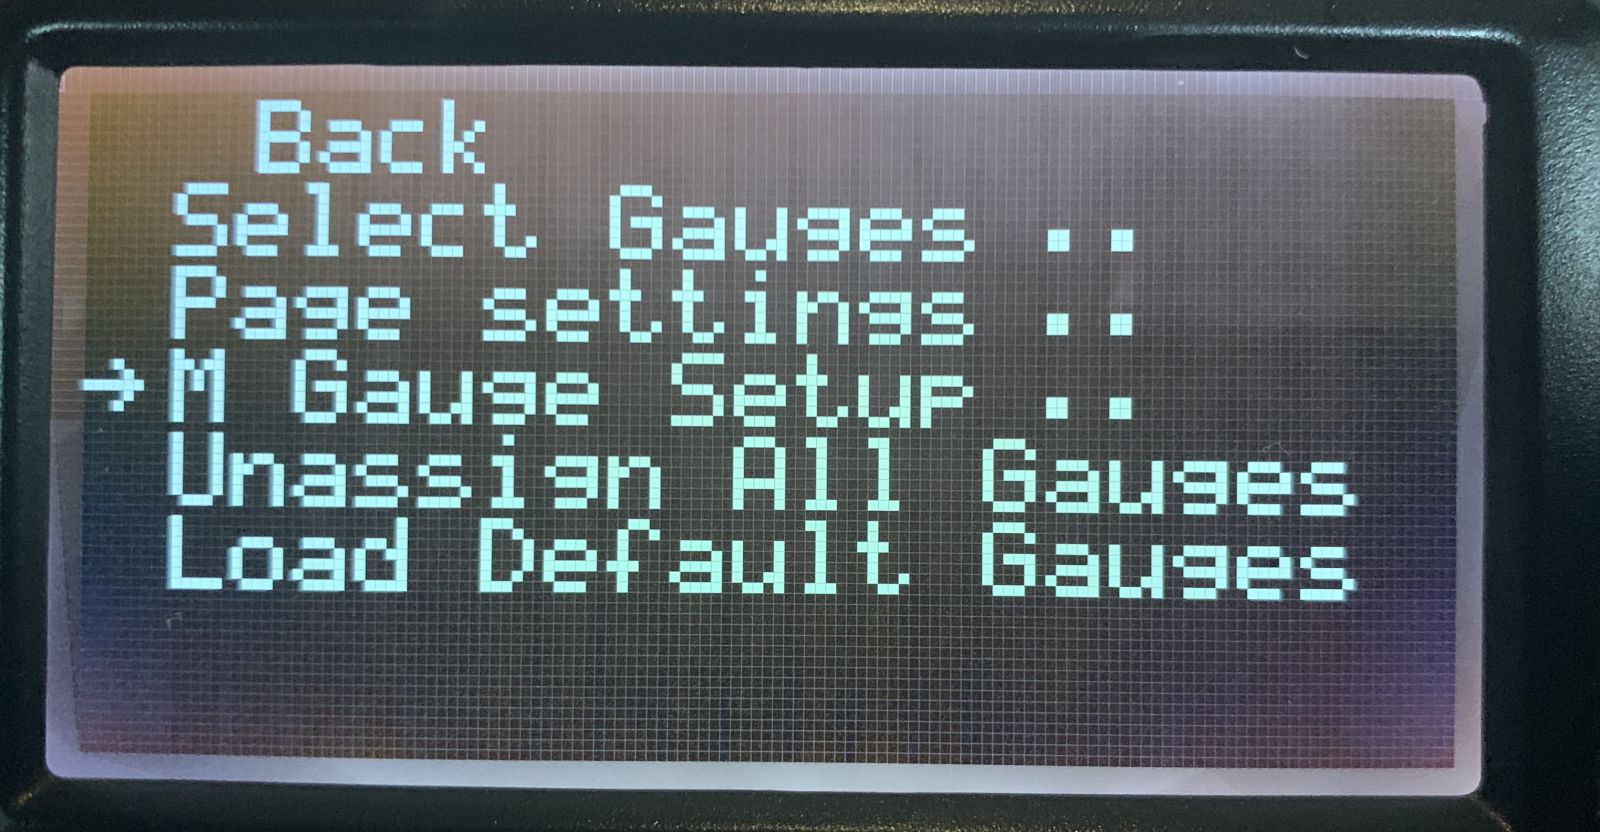
Then press menu/enter to head to the Gauge/Page menu and select M Gauge Setup:
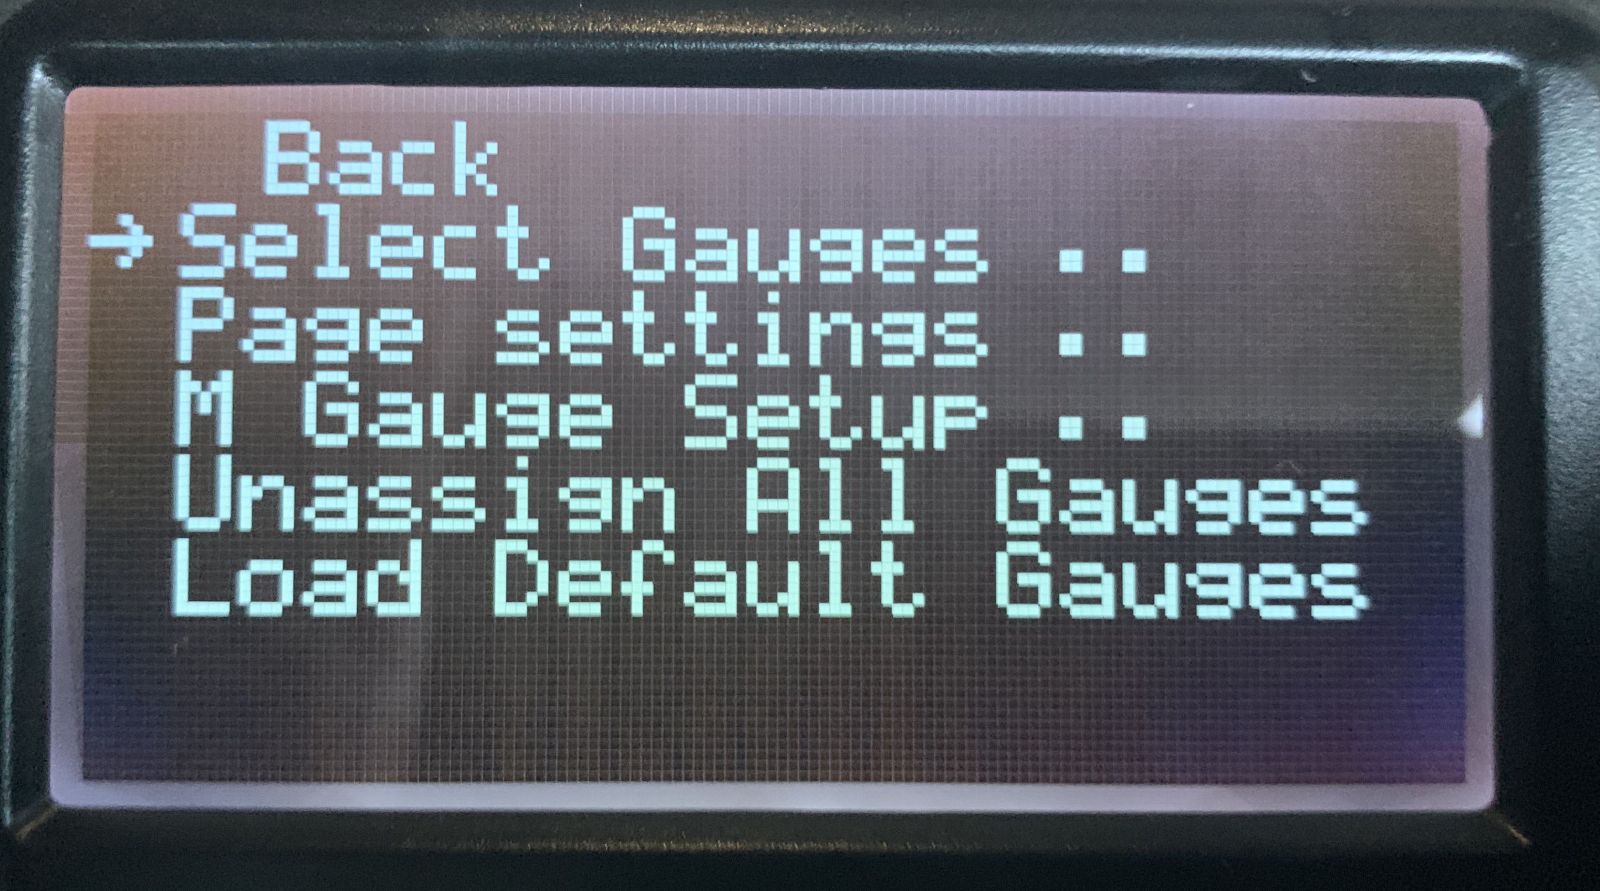
Step 4
This will direct you to the M Gauge Programming page. There will be pre-programmed M Gauges in the unit specific to the unit you purchased. To add or edit an M Gauge, press the menu/enter button and this will allow the value change of data on that particular gauge. Scroll through the gauge parameters, with the up/down buttons, hit enter to adjust a specific parameter, adjust the value, then hit enter again to save the custom input value. Repeat per parameter and value:

For further technical support please head to www.preciseauto.com.au/contact-us